Leica M9 Digital Rangefinder Camera - Page 12 Index of Thorsten Overgaard's user review pages on Leica M9, Leica M9-P, Leica M-E, Leica M9 Monochrom, Leica M10, Leica M10-P, Leica M10-D, Leica M10-R, Leica M10 Monohcrom, Leica M11, Leica M 240, Leica M-D 262, Leica M Monochrom 246, Leica SL, Leica SL2, Leica SL2-S, as well as Leica TL2, Leica CL, Leica Q, Leica Q2 and Leica Q2 Monochrom:
My Leica M9 best practice as of April 2010 ... and the Leica M9 in Los Angeles
By: Thorsten Overgaard. April 21, 2010. Last edited June 1, 2016.
Add to Flipboard Magazine.
As the software and all for the Leica M9 changes and improve all the time, let me just give my own current best practice as of April 2010 as inspiration or a starting point for anyone interested
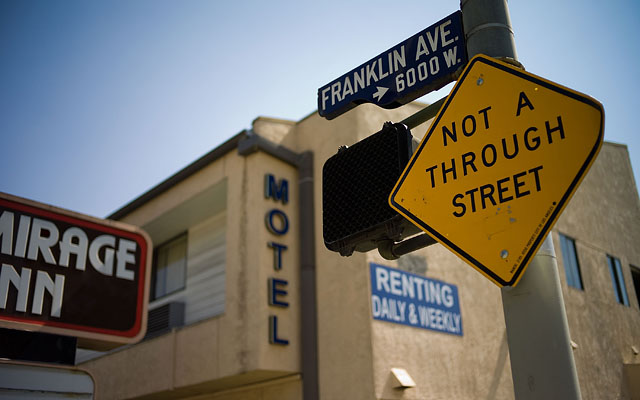
Mirage Inn at Franklin Avenue in Los Angeles. Leica M9 with Leica 35mm Summilux-M ASPH f/1.4 (Version IV).
Shooting style with only one variable
The aperture mode?
People have asked me if I use the Aperture mode, and I've always said I use the Auto mode. Frankly, I didn't know it was called the Aperture mode in the Leica manual. It's the red A on the shutter speed dial on top of the camera and for me it is Auto.
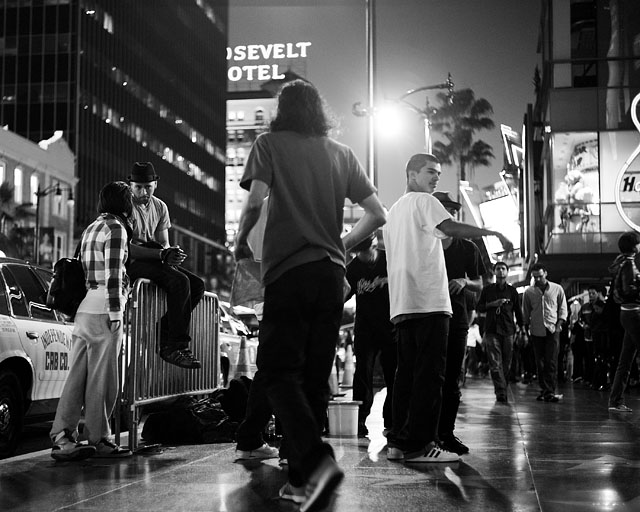
Breakdance at Hollywood Boulevard outside The Kodak Theatre in Los Angeles. Leica M9 with Leica 50mm Summicron-M f/2.0.
But it's led me to clarifying how I actually shoot. Because I don't shoot Aperture mode. And let me be very specific here, because I feel this is very important to grasp for any Leica shooter.
The fact is that Leica lenses are quite unique. They're developed and produced to perform optimum fully open. Meaning, a Leica 50mm Summilux-M ASPH f/1.4 is developed to perform optimum at f/1.4.
It's at that aperture value that is needs the least light, has the most unique and pleasant bokeh (how the out-of-focus areas take shape), the most interesting and playful depth of field (or selective focus if you will: only a thin layer of the image is in 100% focus while the rest is blurred and unsharp; forming the sought after bokeh).
Los Angeles downtown. Leica M9 with Leica 50mm Summicron-M f/2.0
From lens test of the 70ies I remember that most lenses was tested as "this lens performs best sharpness at f/5.6" when it was a Nikon 50mm f/1.8 lens. It's true that if you read some of Erwin Putts splendid reviews he will tell how contrast and corner sharpness improves at f/2.8 or f/5.6 on some Leica lenses. For landscape that might be considered optimum but for portraits and atmosphere photos, which is what I do the most, the quality of the narrow sharpness along with the play with light and the bokeh is what makes my day.
Hence, I always use Leica lenses fully open. The only reason I could ever think of for stepping down to f/2.0 or f/5.6 would be if there is too much light. I'm so fortunate to live in a Scandinavia where it's dark most of the year, so I don't have that problem. Those who live in Qatar, California or India must use ND filters (and often do so) in order to stay with wide-open lenses while shooting in sunlight.
Another reason to stop it down would be to do for example a group portrait of three persons or more where you want to make sure they are all sharp. Though if you're not going to use the f/1.4, save some money and start with a f/2.0 or f/2.8 lens.
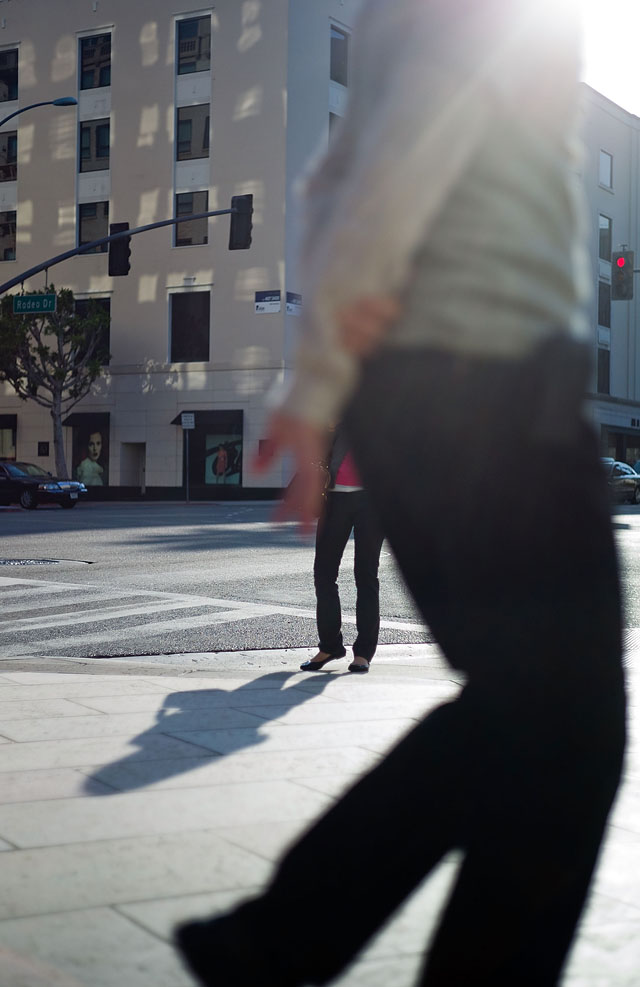
Rodeo Drive in Los Angeles. Leica M9 with Leica 50mm Summicron-M f/2.0
200 ISO or 800 ISO
The next thing I should stipulate is that I have two ISO settings: 200 ISO for outdoor, 800 ISO for indoor. I don't like to go higher than 800 ISO unless I really have to, and 800 ISO can handle most indoor shots. 200 ISO outdoor because it's good enough quality. 160 ISO would be more true to the cameras base ISO which is the 160 ISO, and 80 ISO for sunny California, but I prefer the "old ISO scale" which is 100, 200, 400, 800 and where you can halve and double the amount of light(sensitivity) in steps. The 160, 640 and other ISO steps confuse my calculations of doubling and halving the light intake.
Auto-ISO is out of the question, and that is for a reason. Note how I only have one aperture setting and one ISO-setting.
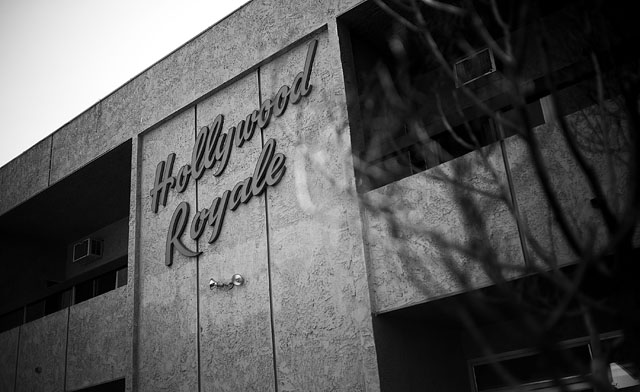
Hollywood Royale at Franklin Avenue in Hollywood. Leica M9 with Leica 35mm Summilux-M ASPH f/1.4 (Version IV).
Now it's just a matter of time
As you can see, this leaves me with only one control, which is the shutter speed. Which is the adjustment of light into the camera of the three (aperture, ISO and shutter speed) that has the least influence on the image – unless it is so slow a shutter value that I get motion blur (in which case I shoot series and do a lot of those in order to get at least one image in the series).
So I start out in A mode with the lens fully open and the ISO at 800 or 200. I can then see on the preview if I want to change the exposure. If I do, I simply change the shutter speed. Nothing else.
An alternative way to adjust the exposure is pointing the camera towards something darker or brighter in the image, lock the exposure by pressing the shutter half down, then recompose and shoot. You can do that for single shots but if you are shooting more images in the same environment, changing the shutter time manually is the way to go so you can just shoot and don't have to check the light all the time.
Rodeo Drive. Leica M9 with Leica 50mm Summicron-M f/2.0.
So that is the simplicity of it and the simplicity of my figuring out the adjustments. I feel pity for those who adjust aperture and runs Auto ISO. Unless you are a Nobel Price winner in mathematics you will never be able to figure out adjustments manually. There are simply too many parameters in play, changing all the time. With the above the only parameter is shutter speed.
And this is why I say that I don't shoot Aperture priority mode. Because I don't use the aperture at all.
To clarify in a few sentences
1) My aperture is always set to fully open, and 2) my ISO is set to either 200 or 800. Which leaves three ways of adjusting:
A) The A mode will set the shutter time automatic and it works.
B) The A mode will set the shutter time automatic but I want it different, so I point the camera towards a brighter or darker area so as to 'trick' the light meter, then lock the exposure by pressing the shutter half down (the top dot in the viewfinder will turn on when it is locked, 2.50 meaning unlocked, 2:50 meaning locked). This is a great way of 'setting' the camera without having to touch any buttons but the shutter release.
C) The A mode will set the shutter time automatic but I want it different. So from the previews upper left corner I can see the shutter time is for example 1/250 but too dark, then adjust that by simply turning the shutter dial on top of the camera to 1/180 or 1/125 and thus go manual.
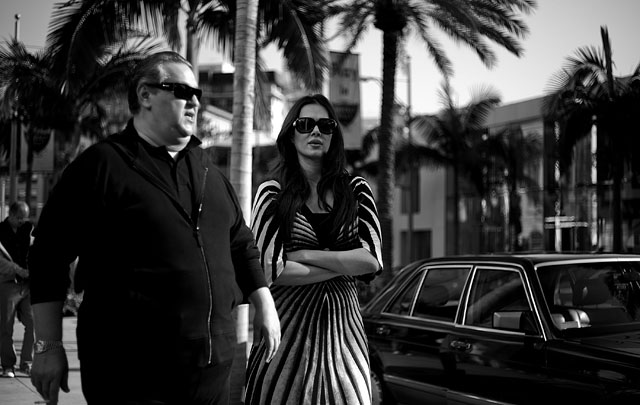
Rodeo Drive in Beverly Hills. Leica M9 with 50mm Summicron-M f/2.0.
Battery time and previews
The Leica M9 comes default with the battery always on (take note of this). So if you haven't visited the Menu > Auto power off, now is the time. I have mine set to Auto power off after 1 minute. The Leica M9 will power up and start shooting quite fast after you hit the shutter release button (I never have the camera at "Off", always on single "S"or multi-frame "C").
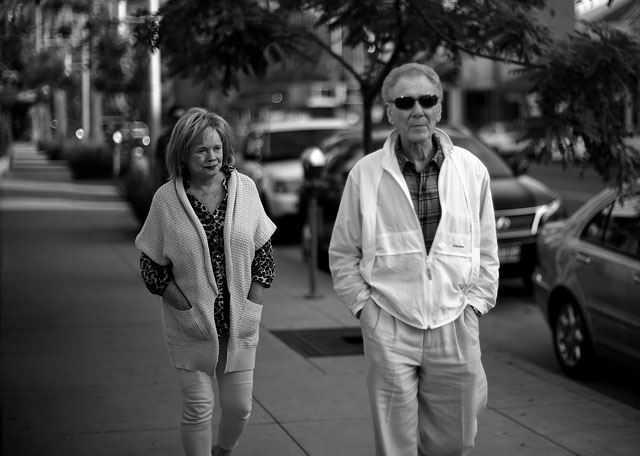
Couple at Rodeo Drive. Leica M9 with Leica 50mm Noctilux-M f/1.0 (1981-edition).

Rodeo Drive in Beverly Hills. Leica M9 with 50mm Summicron-M f/2.0
I also have 1 second preview set so I can see the preview and check exposure, see the shutter time in the upper left corner of the preview and adjust accordingly. Half a year ago I would have said auto preview was against my religion, but I somehow got used to it even I should have it turned off. I know of others who shoot with Auto power off set to 1 minute and no preview. Their battery lasts for several days. Mine last for a day or more – or usually more than filling up a 16GB card.
So I have two batteries and have found that is all I need. I always charge one in the evening and one in the morning so I have a fully loaded in the camera and another fully loaded with me.
Rodeo Drive in Beverly Hills. Leica M9 with 50mm Summicron-M f/2.0
| |
|
|
|
|
| |
Buy the new eBook
"A Little Book on Photography"
by Thorsten von Overgaard |
|
| |
|
|
|
|
| |
Order now - Instant delivery.
More info
★
★
★
★
★
★ |
|
It's a humorous understatement to call this
new eBook by Thorsten Overgaard for
"A Little Book on Photography".
It's a grand book, a history lesson, life experience, a biography and poetry book and brilliant photo book!
All in one beautiful package of 180 pages
to fire you up and get you to love
photography ... unconditionally!
"A Little Book on Photography"
eBook for computer, Kindle and iPad.
New release March 2017.
Intro price only $47 - 180 pages.
| |
|
|
| |
Buy Now

Instant Delivery |
|
| |
|
|

|
|
| |
|
|
Lens coding and lenses to use
All current and previous M mount lenses will work on the Leica M9. And even older screw mount lenses will work via an adapter. The camera has a number of presets, either chosen via the manual lens selection menu, or via the auto lens detection menu (in which case the lens has to be coded by Leica or a third party; or coded with a third party lens coding kit such as a black ink pen).

A cigarette for a picture. A cafe guest in Silverlake shot with Leica M9 and 35mm Summilux-M ASPH f/1.4.
Some exotic lenses will work (and even screw-mount lenses via adapter), but not supported with any lens code. The result being that there exist no correction for that particular lens. It's not a big deal. Anyone who has tried to shoot a Noctilux lens and have forgotten to change the manual lens setting from a 90mm f/2.0 or any other lens will know that the difference between lens coding and no lens coding – and even wrong lens coding – is something you will be able to survive.
If you can even tell the difference. You can also choose the closest lens coding manually you can find. For example the 16-18-21mm for the 21mm Super-Angulon-M f/3.4.
Asian dance room. Leica M9 with 50mm Summicron-M f/2.0 (1250 ISO)
How many lenses are ... never enough anyways?
The most impressive thing about Leica is that close to 100% of their lenses are perfect. It's not that they have three outstanding lenses and some mediocre ones. All of them are perfect and only difference is if they suit you.
This unfortunately also means that you tend to want a lot of Leica lenses, even you have a camera that almost scream to be the "one camera, one lens" kit.
Leica M9 with 50mm Summicron-M f/2.0.
Reality is that most Leica photographers use one lens for the majority of their photography. Personally I use 50mm mostly but also have 21mm and 35mm and 90mm that I use frequently. But in fact I can do most with a 50mm, and the one I've used for 95% of my photos since December is the old chrome 1962-model of the Leica 50mm Summicron-M f/2.0. A year ago I would swear that I wouldn't be able to love an f/2.0 lens. It had to be f/1.4 to be sexy enough.
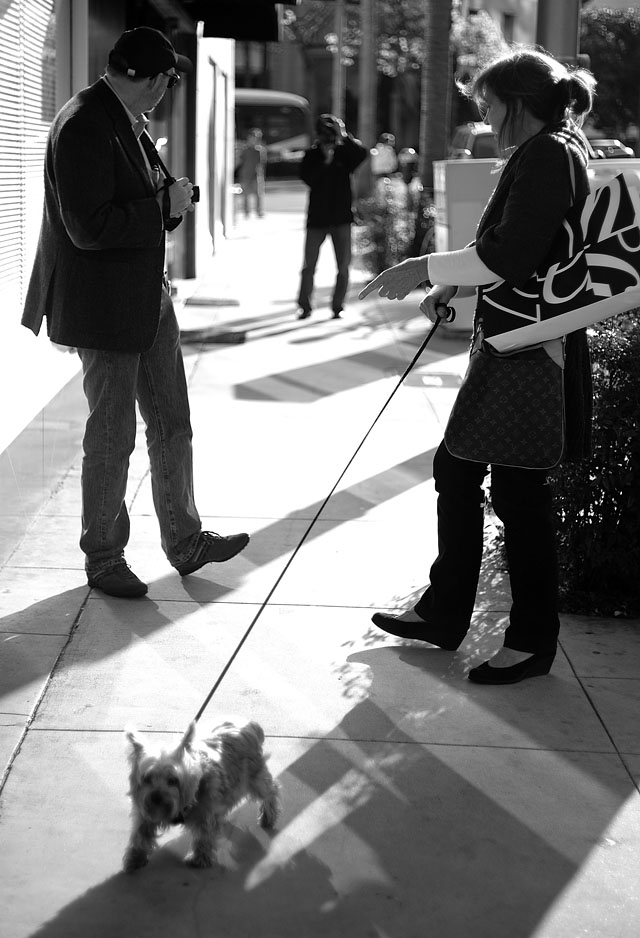
Marc Taylor and Richard Yee persuading the Italian lady to photograph her dog. Leica M9 with 50mm Summicron-M f/2.0.
Nevertheless I find that lens fantastic, and one reason is that I have learned to use its special character and faults (no coating of importance to name one) and it's DOF so I have a technique, a look and can predict that. In other words, I can produce exactly what I want because I can foresee and predict things. I know where the model should be, where the light should be coming from, how much light will be needed, how deep a focus I'll be having and how much the background will play into the images. Another way of saying it is that I have a professional way of using that lens, because I can produce predictable results of desired quality. I don't think about it, I know it be hearth and I can recognize a picture coming up 50 meters in front of me. Which to me is the advantage of "one lens, one camera," apart from the compactness of such a kit.
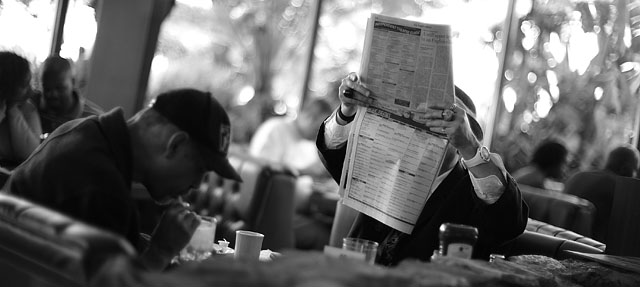
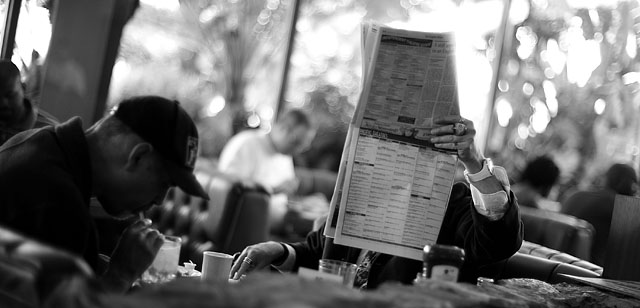
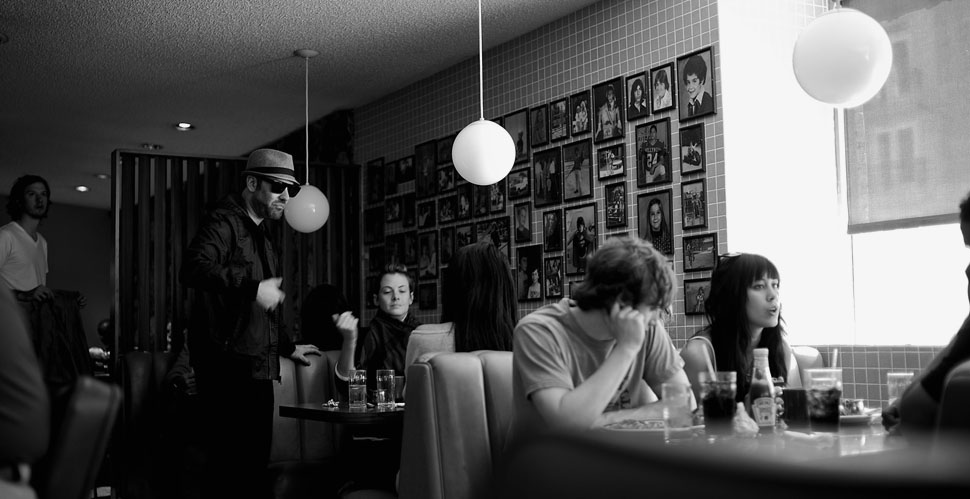
Odd couple in the Pann's Diner (where Pulp Fiction was made) in Los Angeles. Leica M9 with Leica 50mm Noctilux-M f/1.0
Give me another lens and I don't know what will happen. Some times it looks great, other times my framing and all fall to pieces. And that is what speaks for one camera and one lens.
Dan Feldstein. Leica M9 with Noctilux-M f/1.0.
But then again, many things speak for several lenses. You might do people and landscapes why you will need one main lens for each thing. Or you might shoot weddings why you'll need a bunch of lenses for low light, wide angle, tele and all.
It's ok. Even HCB had more than one lens though the legacy says he only used one. Sometimes it's a great inspiration to try a completely new lens and see how it changes one's photography.
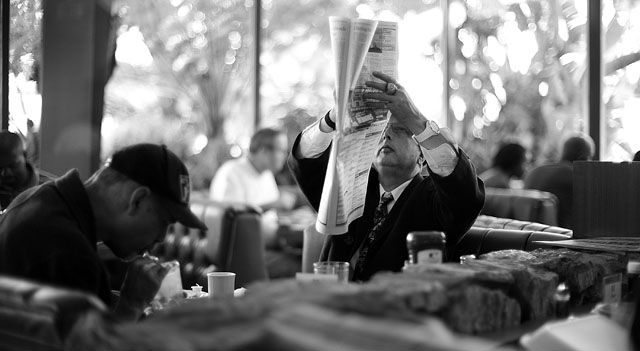
Dan Feldstein and Birgit Krippner inside the Pann's Diner in Los Angeles. Leica M9 with Leica 50mm Noctilux-M f/1.0 (1981-edition).
The Pann's Diner. Leica M9 with Leica 50mm Noctilux-M f/1.0
Leica M9 with Leica Noctilux-M f/1.0
And lets not forget that some Leica shooters get pleasure from owning and studying and using all lenses. It's hard not to. Let me perhaps put it this way, that if you lack self confidence in your shooting and images, then select one lens and use that ruthlessly for weeks and carry the camera at all times with that lens.
If you doubt you can photograph, you will see that you can. And if you change into another lens after that, you'll be in trouble for some days but will eventually get the hang of that one as well.
Leica M9 with Leica 35mm Summilux-M ASPH f/1.4 (Version IV) @ f/1.4
Software and memory cards
It's very easy to stay updated with the latest Leica M9 firmware. And it's almost flawless. Really, I don't care if there are one or two small flaws. The main thing is that the Leica M9 works as a Leica M4 or Leica M6; it's just digital now.
I use SanDisk 16GB memory cards because some years experimenting has taught me that SanDisk does reliable memory cards.
Birgit Krippner having a shot of the Silverlake trademark. Leica M9 with Leica 50mm Noctilux-M f/1.0 @ f/1.0
Black and white as well as color
My standard workflow is that I shoot JPG and DNG side-by-side. That is done by selecting Set > Compression> DNG+JPG fine, and then in Menu > Color Saturation > Black & White. This way the preview will be black and white, and when you download images from the card to Aperture or Lightroom (and sort them as sorted after capture time) you will get colors and b&w side by side. In editing, it makes it very easy to see which works best for the individual image (and sometimes it saves an image to see it in b&w where the color doesn't work. The opposite can also be the case).


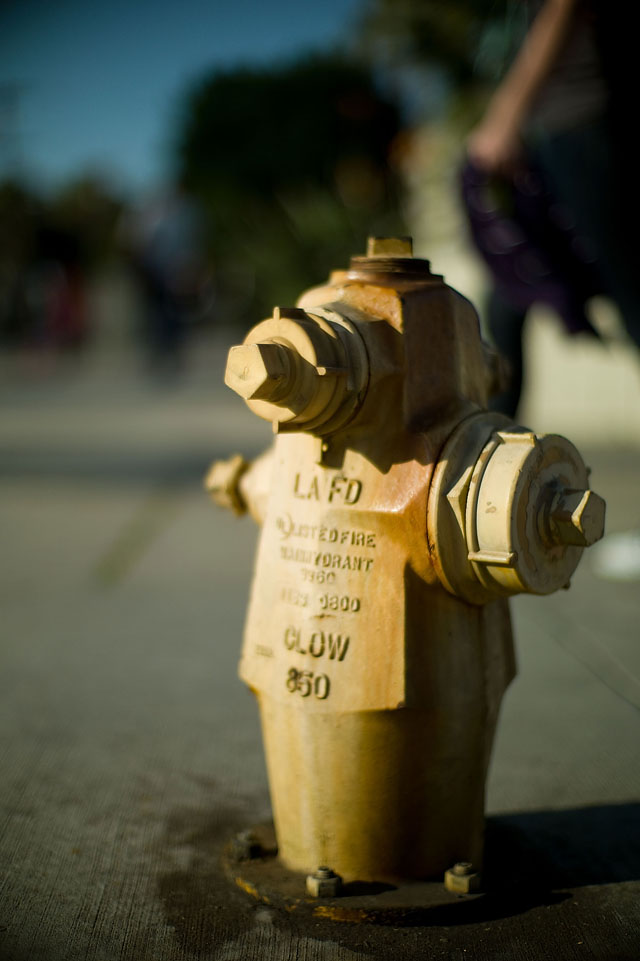
"Hollywood Fire Department" in color and black and white. Leica M9 with Leica 50mm Summicron-M f/2.0.
Depending on importance and time I will either work the JPG black and white over (increase lightness and contrast, decrease exposure a bit to adjust for the added lightness. Some times I also increase Fill Light and compensate with Blacks. If it's an important black and white image I'll use the DNG and make that the black and white original because the DNG usually (always) contain more detail and can take more adjustment. But often I just go with the almost final black & white JPG.

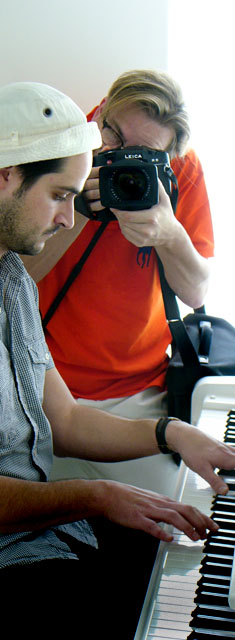
Young girl playing piano. Leica M9 with Leica 50mm Noctilux-M f/1.0
Advertisement:

Leica M9 skintone adjustment
In adjusting color photos I desaturate red 8-10% and desaturate orange 10-30%, increase contrast and lightness and compensate for that decreasing exposure.
As you'll note the balance is overall satisfying in the Leica M9 images, so whenever I change the look, I tend to compensate for changes. If I add lightness, I decrease exposure, and so on.

Roosevelt Hotel scenery at Hollywood Boulevard outside The Kodak Theatre in Los Angeles. Leica M9 with Leica 50mm Summicron-M f/2.0.
My color temperature (white balance) is usually correct shot in camera, and so is my exposure. I'm not a fan of adjusting on the computer. I think it's amateurish and stupid to capture imperfect images that require adjustment on the computer. It's sloppy, and computers are not meant for adjustment. They are meant as tools to get more done in less time, preferable automatic without need of a human babysitting the process.

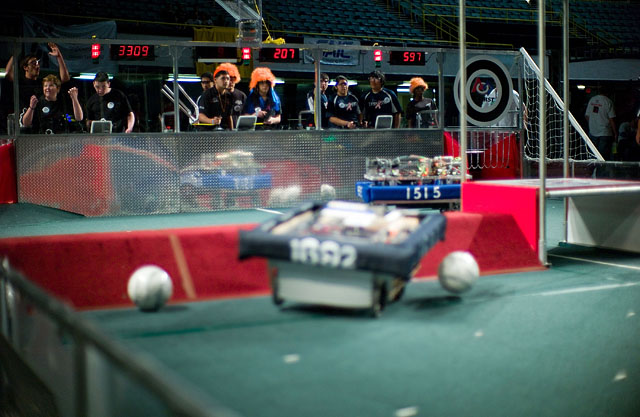
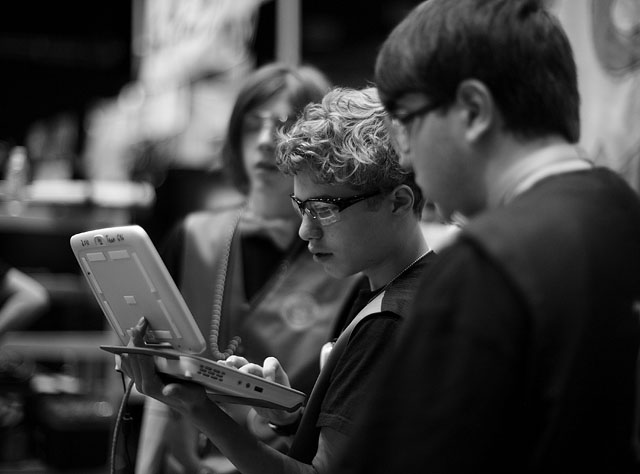
Nerds at play at the FIRST Robotics March 2010 in Los Angeles which is a crazy high-school robotics competition. 50 teams who all built each their 130-pound robot to charge around the field playing this game. Leica M9 with Leica 50mm Noctilux-M f/1.0.
Processing Leica M9 files
There are basically only two software programs that provide a complete workflow that works. It's Lightroom 2.6.1 and Aperture 3.0. I go with Lightroom because it was the first I used and because Leica then partnered with them. So even Aperture 3.0 currently may be in the lead in converting RAW files from the Leica M9, I stick with Lightroom in the belief that Leica and Lightroom will continue to develop the best software and conversion for the Leica M9 on the long run.
Leica M9 with Leica 50mm Noctilux-M f/1.0.
Workflow is a very important thing in that it is what allows you to shoot a lot and get the administrative tasks (editing, export and delivering images) done in a hurry. It's not a trial-and-error thing or something interesting to play around with on a daily basis. From time to time you should review how you do things, but when you have something that works, you stick with that and get the job done without re-considering if you are doing the right thing every instant. And it has to be able to produce a high number of images in a no nonsense way, which is also why stand-alone software as Capture One, FlexColor, Silky Images and other may produce a better result in some (or even all) cases. But they don't allow you to process a lot of images why they are simply not relevant for shooting a lot.
You can pick single images and process them for a better result in those but you can't process all images.
Leica M9 with Leica 50mm Noctilux-M f/1.0.
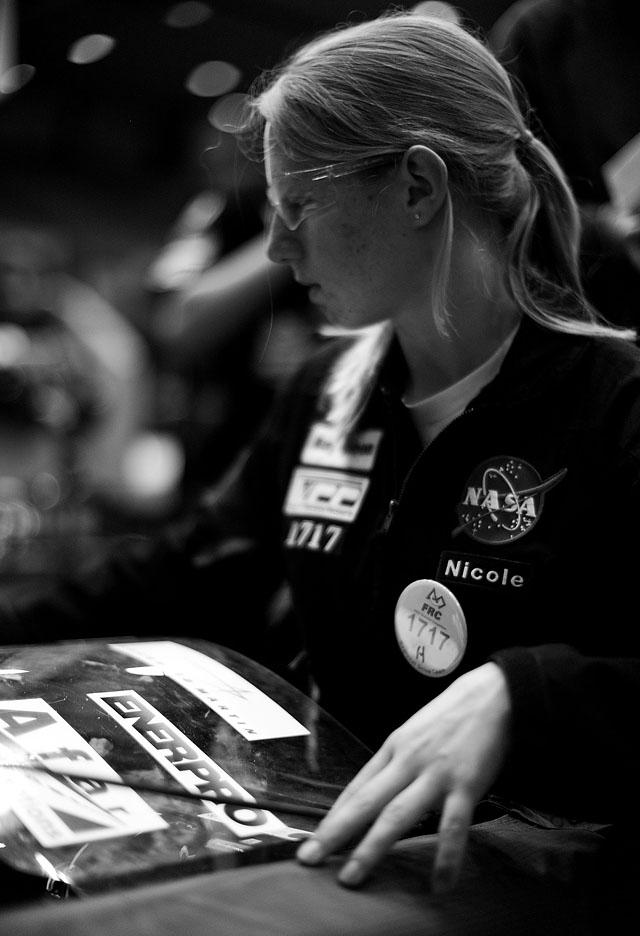
Nicole from NASA. Leica M9 with Noctilux-M f/1.0
I currently (March 2010) use Lightroom 2.6.1 which is the official release from Adobe. I have downloaded the 3.0 Beta because it contains a better Leica M9 profile. And when downloaded and installed, the 2.6.1 will use that in processing the files. When Lightroom 3.0 becomes official release I will use that with the advantages it has (probably plus two stops of ISO due to better noise reduction in Lightroom 3 which means I can use 3200 ISO without any noise and color alteration). But for daily workflow one should use official releases, unless one want to participate in testing new software.
Leica M9 with Leica 50mm Noctilux-M f/1.0.
Editing
I could say many things bout editing – by which I mean editing in the sense of selecting. Many have problems editing their own pictures: They say that they can't decide which are the right shots and which might be. So if that is the case for you as well, you may be hung op in a complete maybe that just grow with every newly added file.
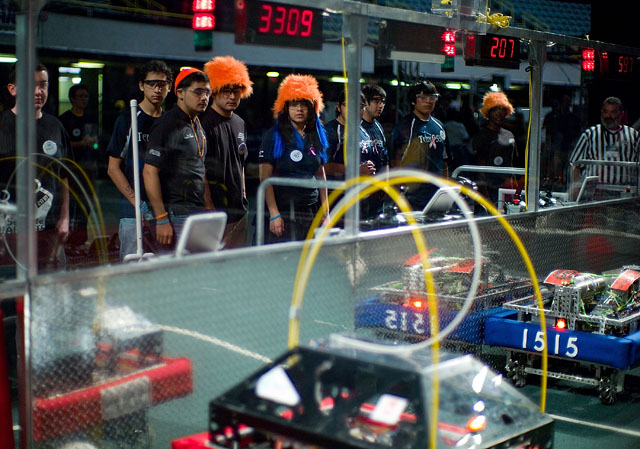
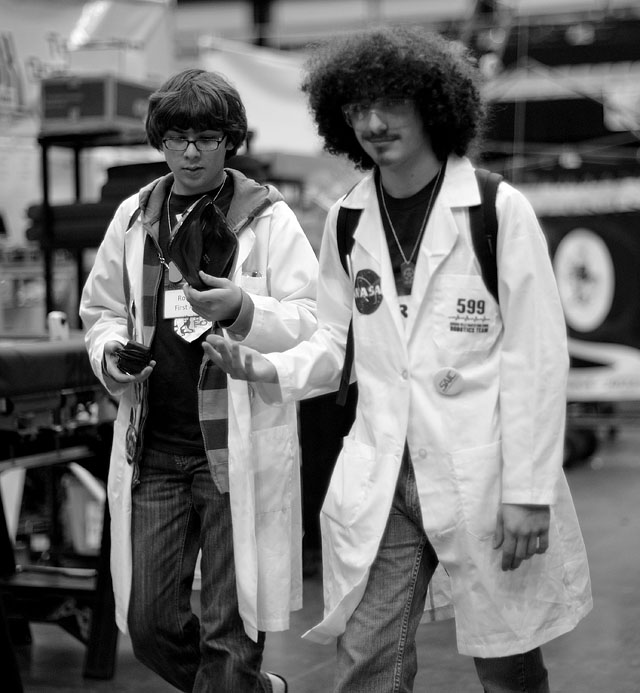
Singing nerds. Leica M9 with Leica 50mm Noctilux-M f/1.0.
Well, what do you think? You are the editor so you have to make the decisions. And a lot of art is basically about decisions. It's easy if you are an auto mechanics because the manual will state if a battery works or not, or the spare part anyways look like the one part in question. So you choose to change it.

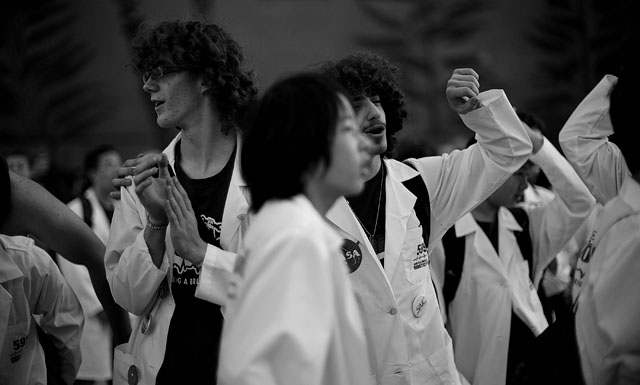
Nerds in matching colors. Leica M9 with Leica 50mm Noctilux-M f/1.0.
With art it's different, because each choice changes the whole outcome. Nevertheless it has to be made. So put your camera away and realize that you are now an editor.
Try to take the viewpoint of either an editor or the audience that will see your images. That will make it easier, and mostly your audience will be non-photographers, so select images they feel are great, not the ones that other photographers would admire for their sharpness.

My other kid. Leica M9 with Leica 50mm Noctilux-M f/1.0.
I've also met many people who start their editing by throwing out the bad images. In my opinion that is about the worst way to go about. You're actively looking for things you didn't do well! It's wrong: You have to start with looking for the things you do right (and then do more of those). So in terms of editing, you should only be looking for the images you can use. You don't have to spend time looking at the ones that doesn't work. Only if you can learn something from them, what could you improve that would make them work.
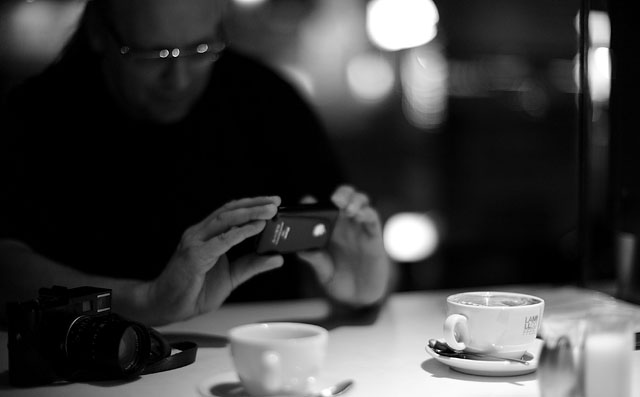
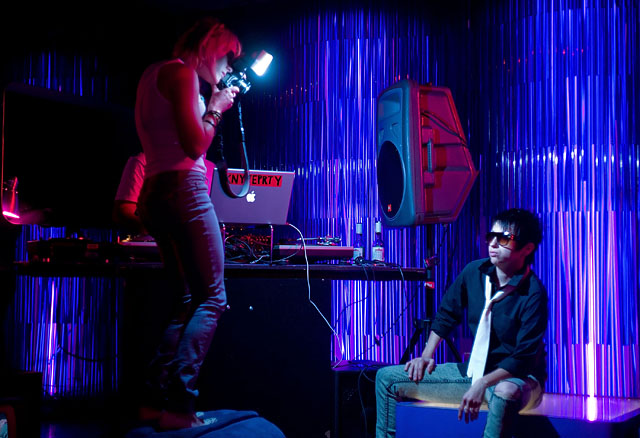
Bo Lorentzen shooting a cup of coffee with the Leica M13 prototype. Leica M9 with Leica 50mm Noctilux-M f/1.0.
The way to edit
The way to edit is to import all images to Lightroom or Aperture, then harvest the results by (in my case) pressing 3 for the ones you find usable and want to have in your archive. As you go you edit them, crop them and finalize them so you don't have to go back and forth in the imported images.
Give them 3 stars (by pressing the 3 key on the numeric keyboard). When you are done, you do an export of hires JPG files to a folder and that is your archive. You're done. You don't have to clean up or throw anything out or look at them again. You now have a folder with images that are OK to use now or later. And that is how you build an archive of images.

Dangerous animal in Los Angeles. Leica M9 with Leica 50mm Noctilux-M f/1.0.
I do some Photoshop actions on that folder so that I get two different web sizes as well and one hires edition for picture agencies (a photo Photoshop action is simply that Photoshop opens all images in one folder, does a series of adjustments to them [such as size, sharpness and/or other] and then save a copy in another folder). That means that all my archive is final with final images in final sizes, with keywords and captions.
I don't have to touch them again before I want to make use of them. I never have to revisit my Lightroom archive, unless I'm looking for something very special or think I can do a better adjustment and re-export.

Diner 101 at Franklin Avenue in Hollywood, Los Angeles. Leica M9 with 50mm Noctilux-M f/1.0.
And I edit every day before I go to bed so I am done with it all the same day. It's fun to create, and editing and finalizing the photos from the day is part of creating. If you save editing for days or weeks it develops into a job that has to be done. Not fun anymore, it's not creating doing computer work.
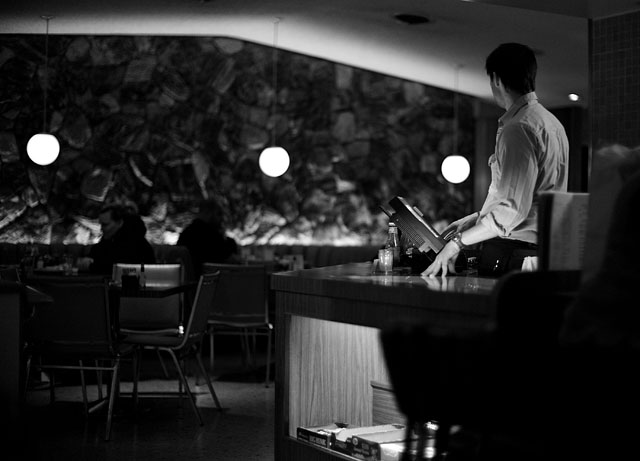
Diner 101 at Franklin Avenue in Hollywood, Los Angeles. Leica M9 with Leica 50mm Noctilux-M f/1.0
(And yes, some times I have to wait till next day to edit. And even some times I push it forward for weeks, which is how I know for a fact that editing right away is the best and most fun way to go about).
Nothing is better than getting up in the morning with all previous work stored, backed up and only new adventures awaiting!
Leica M9 with 50mm Summicron-M f/2.0.
As for the ones I didn't give 3 stars: Those are still in Lightroom and stays there. I would never waste time on throwing out images. It's mine; I own them and I want to keep them. And as storage options expand faster than image file size, space will be the least of your problems in the future. Don't waste time on saving space.
Leica M9 with 35 mm Summilux-M ASPH f/1.4
Compression of the Leica M9 DNG files
And having said that, don't use Adobe's offer of saving space by compressing your DNG files. You don't want that because one day you will get to experience that no one supports reading those compressed DNG files. The compression in the Leica M9 is not the same as the Lightroom compression. So don't mix them up.
The compression in Leica M9 is a Leica-made compression of the 14 bit image into a 8 bit with those informations valued to be of importance maintained, the empty calories omitted (so it's not a blind downsizing of everything but rather an omission of non-data).
It makes the camera faster and I can't tell the difference, which is why I use the compression.
The Leica M seminar in Los Angeles on March 27, 2010.
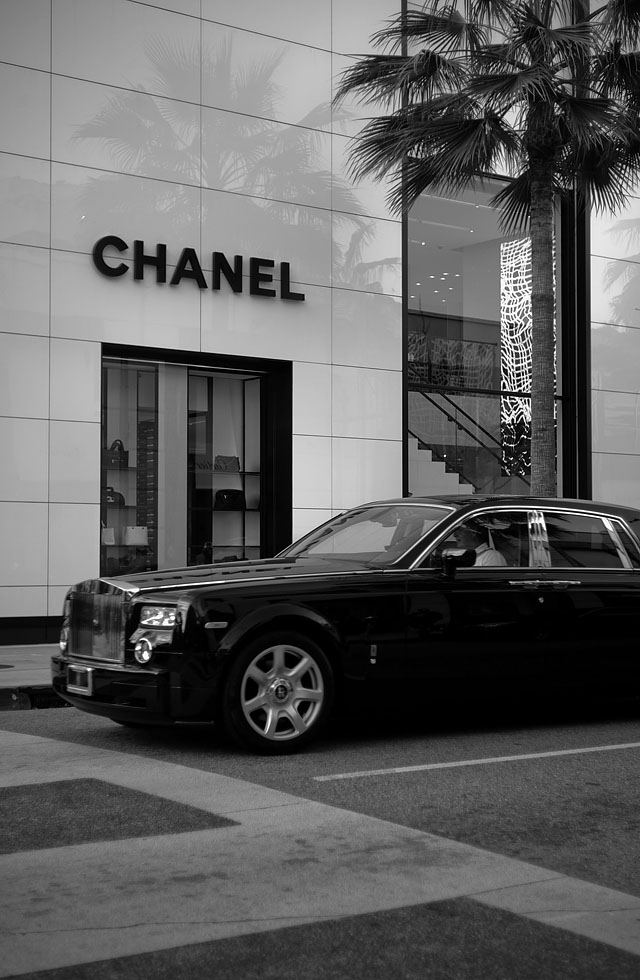
Chanel store at Rodeo Drive in Beverly Hills. Leica M9 with Leica 50mm Summicron-M f/2.0.
White balancing
I use a WhiBal neutral grey card for manual white balancing. It's a piece of plastic made of neutral grey which is the essence of it: That it contains no colors why it acts as a piece of white paper. But contrary to white paper, which always has a tint of blue, yellow or something, the WhiBal is neutral.
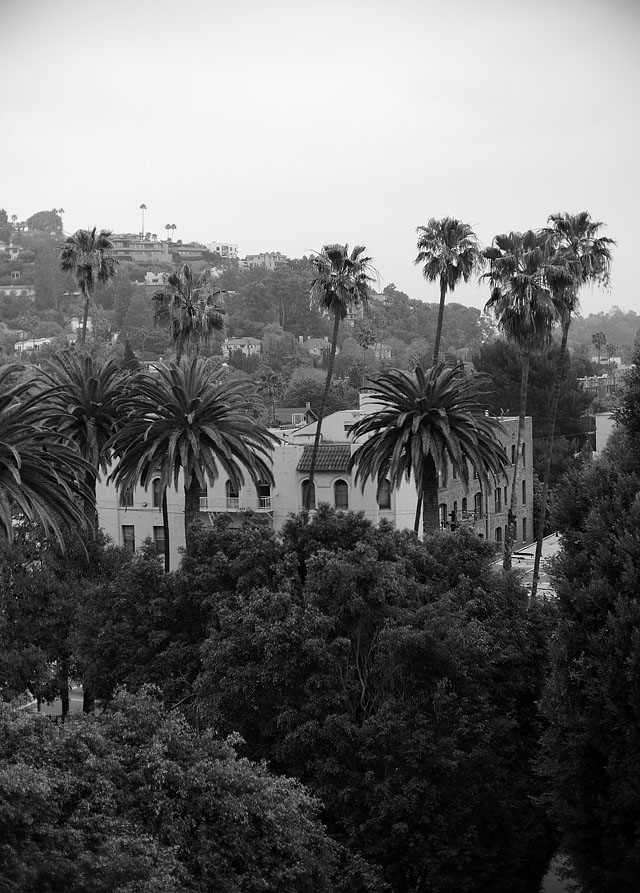
Hotel room at The Manor Hotel with a view to the Hollywood sign. Leica M9 with Leica 50mm Summicron-M f/2.0
Telephones at Washington DC airport. Leica M9 with Leica 50mm Summicron-M f/2.0
Though I'm not that concerned as long as it's about neutral, (the WhiBal also takes colors from lying in a pocket; meaning it will get dirty lying in a pocket), but I like standardized methods and the WhiBal means that every time I get the same white balance. If I haven't got it with me I use white walls, grey concrete or any other close-to-neutral surface.
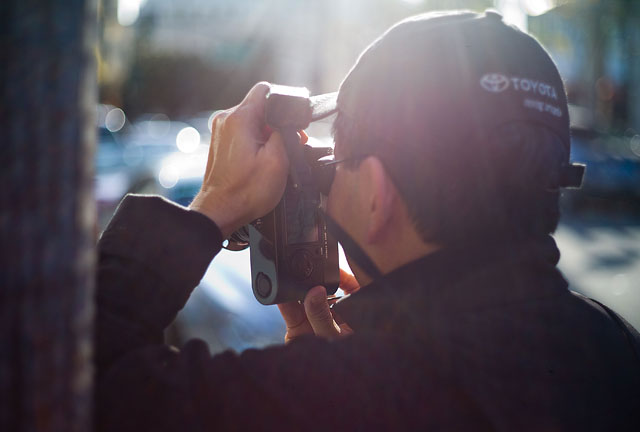
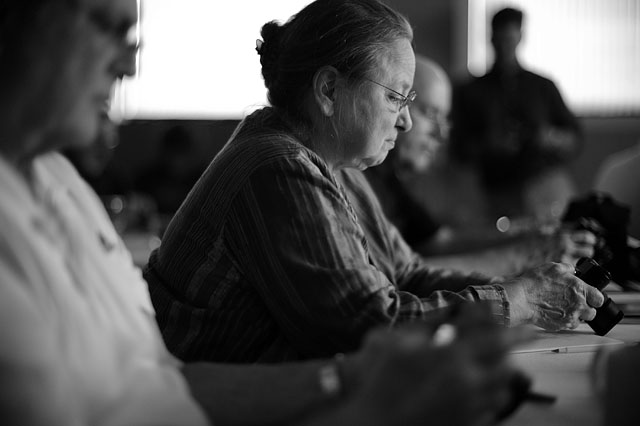
Richard Yee photographing at Rodeo Drive in Los Angeles. Leica M9 with 50mm Summicron-M f/2.0
| |
|
|
|
|
| |
Buy my "New Inspiration Extension Course"
|
|
| |
|
|
|
|
| |
Need more info?
Read this article. |
|
Get inspired and rebooted!
This extension course if made for you! It can be done at home and travel at your own pace. I have taught workshops for years and the Overgaard New Inspiration Extension Course is my experience compressed to a package of training, articles, drills, assignments and video tutorials that will inspire you and take your photography to the next level! For a limited time my course includes something you cannot get anywhere or anytime else:
A portfolio-review by Thorsten Overgaard.
| |
|
|
| |
"The Overgaard
New Inspiration
Extension Course"
For computer and iPad. 181 p eBook. |
|
| |
Only $798 |
|
| |
|
|
| |
|
|
| |
|
|
| |
|
|
| |
|
|
Order now - Instant delivery. |
|
| |
|
|
|
|
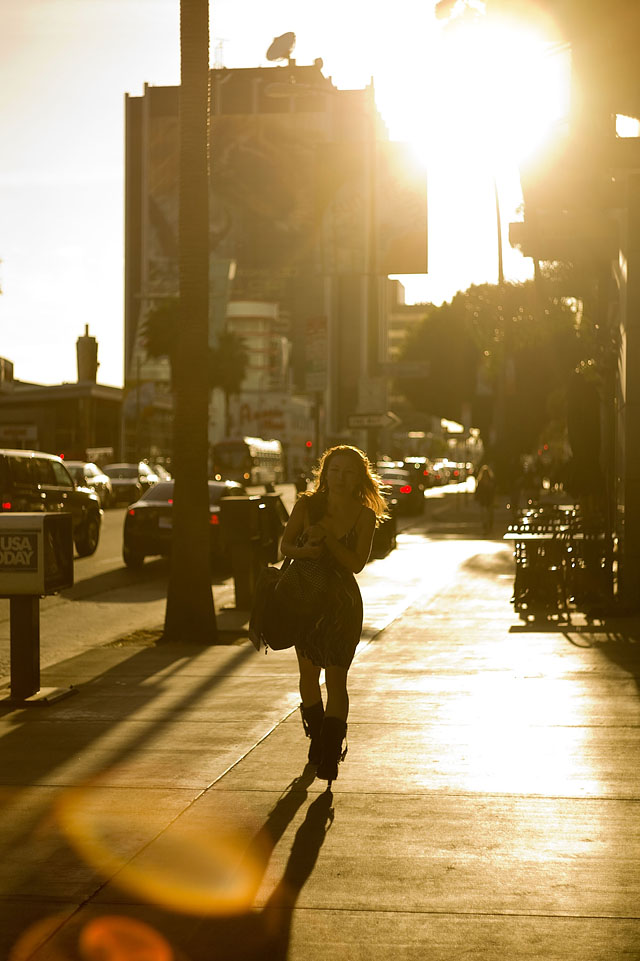
Sunset at Sunset Boulevard. Leica M9 with 50mm Summicron-M f/2.0.
When I go shoot in for example mixed shadow/sunlight, I read the white balance manually in the shadow so that I get daylight in the shadows and warmer colors in the sun (I prefer this to daylight in the sun and cold shadows). But if I am going to shoot mainly in the sun, I adjust for that.
Nightclub at The Standard hotel. Leica M9 with Leica 50mm Noctilux M f/1.0.
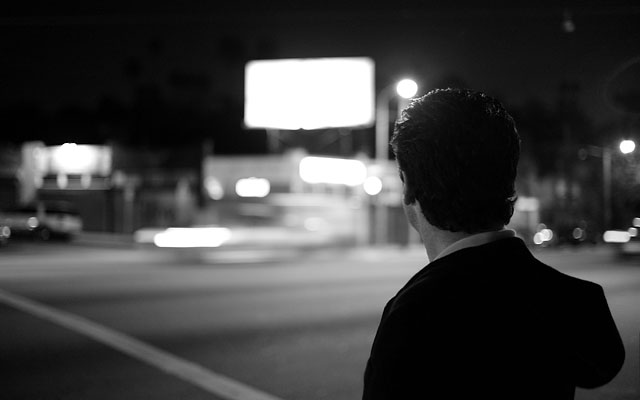
My view. Leica M9 with Leica Noctilux-M f/1.0
The important thing is that when the Leica M9 is once set to Manual, it's easy to change. Whenever I enter a café or some other light, I pull out my WhiBal and press the Set button twice, expose the WhiBal and I have changed the white balance. If the camera is set to Auto white balance, you have to press Set, scroll, Set and shoot. It's a longer process than changing from one manual to another manual.
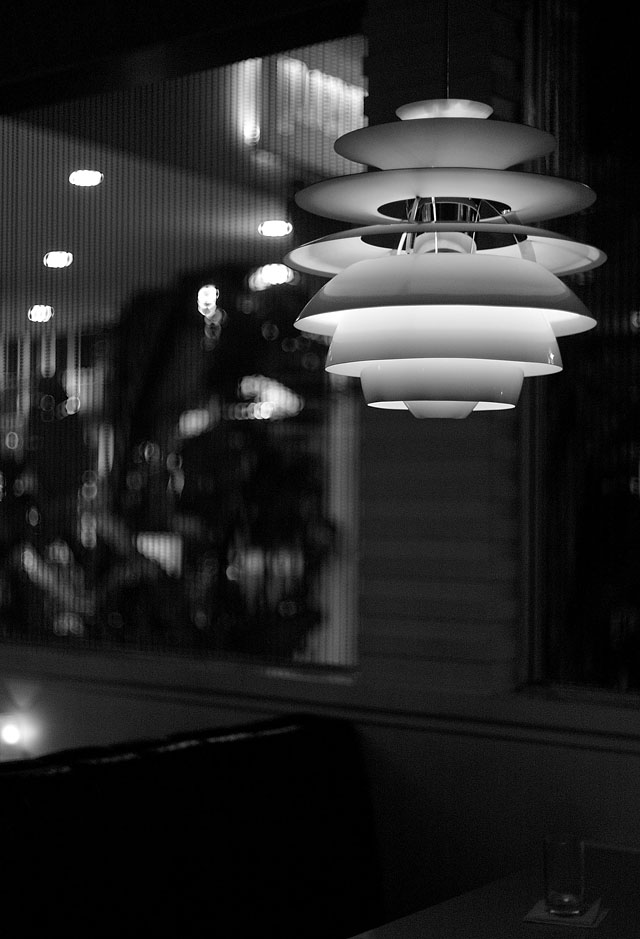
The Standard hotel's diner with Danish Louis Poulsen lamps. Leica M9 with Leica 50mm Noctilux-M f/1.0
I keep hearing that people thought WhiBal was for putting into the image and then set the white balance in Aperture or Lightroom. It's correct that white balancing cards are often marketed that way. But nothing beats shooting a white balanced image with correct colors.
Shooting it without gives you more work in editing by the computer and you won't be able to instantly judge an image when you see it. Further, exposure changes when changing white balance in the editing.
Al in all, editing white balance in the computer instead of getting it right in the first place gives you a lot of inaccurate photos you need to judge how should look - and then the work to make them look like something that was correct.
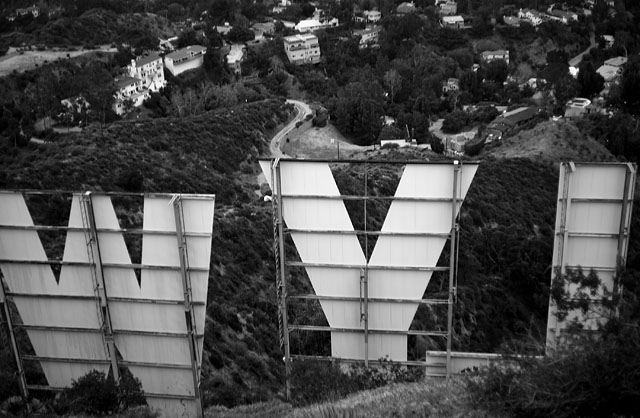
The Hollywood sign. Leica M9 with Leica 50mm Summicron-M f/2.0
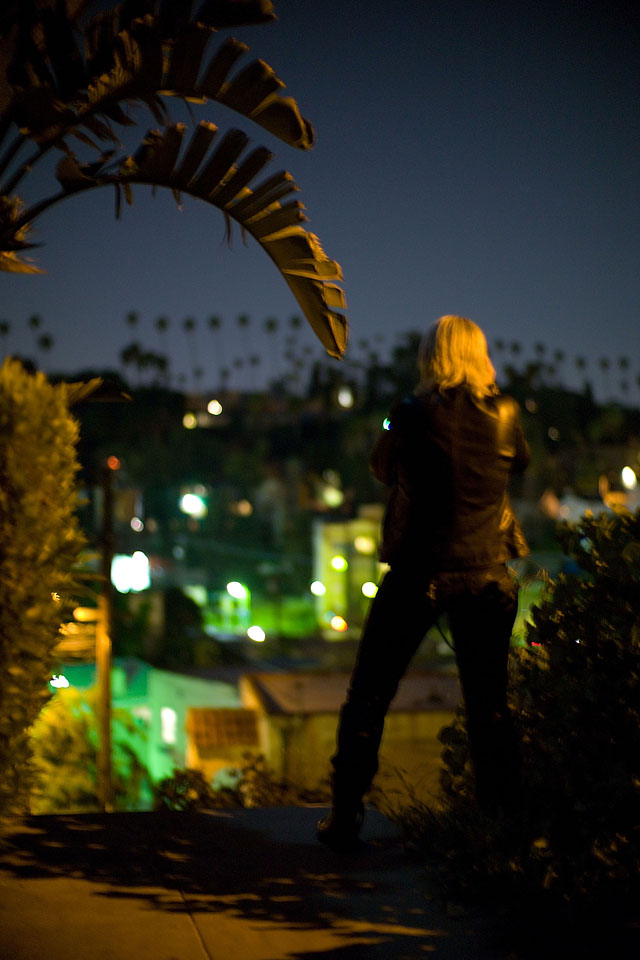
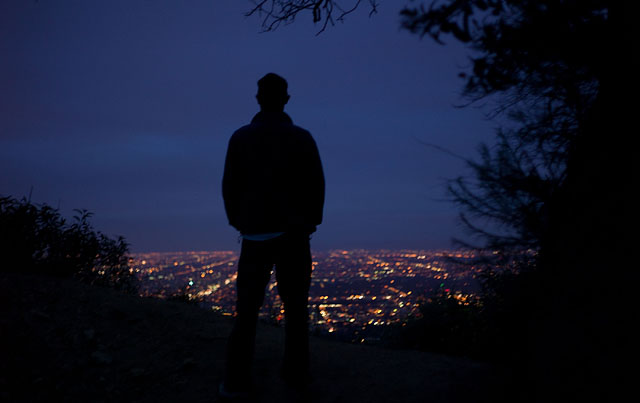
Los Angeles seen from Hollywood Hill. Leica M9 with Leica 50mm Summicron-M f/2.0
In case you didn't get the memo
The firmware for Leica M9 was released in March 2010 and include some different adjustments whereof the most most interesting in my opinion is that zooming on previews are now smooth and fast. But I've also learned another interesting little thing, which is that one can now activate preview by holding the shutter release button down after having shot.
The setting is Menu > Auto Review > Duration > Rel. Button Pressed. This is genius as you often need the preview to check the settings and then change them. You don't need a preview after each shot.
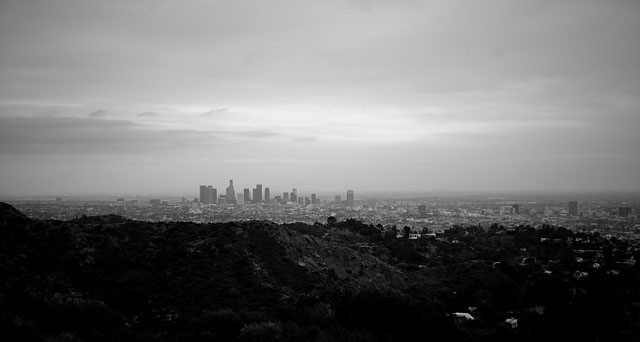
View over Hollywood. Leica M9 with 50mm Summicron-M f/2.0
Continues on Page 13 -->
Index of Thorsten Overgaard's user review pages on Leica M9, Leica M9-P, Leica M-E, Leica M9 Monochrom, Leica M10, Leica M10-P, Leica M10-D, Leica M10-R, Leica M10 Monohcrom, Leica M11, Leica M 240, Leica M-D 262, Leica M Monochrom 246, Leica SL, Leica SL2, Leica SL2-S, as well as Leica TL2, Leica CL, Leica Q, Leica Q2 and Leica Q2 Monochrom:
|